In-Ground Pools
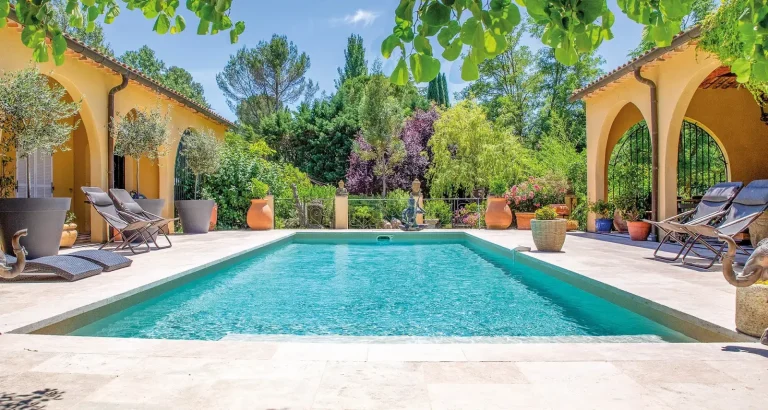
Imagine a turquoise blue haven in the heart of your garden, an oasis of relaxation and joyful moments for the whole family. Desjoyaux in-ground pools are much more than just pools: our tailor-made solutions allow you to create the pool of your dreams, controlling costs while maintaining extensive control over the choice of materials and finishes for your new living space. We guide you step by step to make this dream a reality by creating a pool that reflects you.

What you need to know about Desjoyaux in-ground pools
All Desjoyaux’s in-ground pools benefit from a customised design and a 10-year warranty covering manufacture and installation. Desjoyaux’s experts focus on providing support and tailored advice at all stages, from design to care of your in-ground pool. Before choosing a type of outdoor pool, Desjoyaux guides you through all the technical and aesthetic aspects to be incorporated into your project. So, all you need to do is design your in-ground pool to enjoy an unforgettable swimming experience!

The advantages of an in-ground pool
In-ground pools are very popular with French pool owners, which is understandable given the numerous advantages they offer: • They are extremely robust and easy to install thanks to Desjoyaux’s patented structure, offering an extended lifespan
• They benefit from Desjoyaux’s pipeless filtration system.
• In-ground pools come in a range of shapes and sizes, allowing you to give free rein to your imagination.
• Owners like this type of pool because of their attractive appearance, which enables them to be easily incorporated into a range of outdoor spaces With over 50 years expertise, Desjoyaux offers a wide range of high-quality materials for its customised in-ground pools: stairs, liner, filtration system, coping, etc. Desjoyaux’s in-ground pools are made in France and benefit from a 10-year warranty covering manufacture and installation.
The stages of constructing
a Desjoyaux in-ground pool
The installation of your pool is our core business at Desjoyaux! Flawless installation is key to ensuring that you are entirely happy with your pool. To achieve this, Desjoyaux employs professionally trained builders deploying traditional and proven know-how.
Step 1 : Marking and Excavation
The first step consists of marking out the bottom of the pool, in order for groundwork to be carried out.
Step 2 : Structure Installation
The support studs and structures are then installed in accordance with the drawing provided. The welded mesh is installed at the bottom of the pool and connected to the structural reinforcement.
Step 3 : Pouring the Pool Basin
The pool’s concrete is poured in a single operation to connect the floor slab and walls, thereby forming a single-piece self-supporting structure. A smooth screed is then created.
Step 4 : Backfilling
Once the deck support studs are in place, backfilling is carried out.
Step 5 : Installing Coping and Paving
This is followed by the laying of coping and paving.
Step 6 : Finishing and Connections
The liner is secured to the top of the structure using a liner lock and the filtration unit is connected by a qualified electrician.

The different
pool shapes
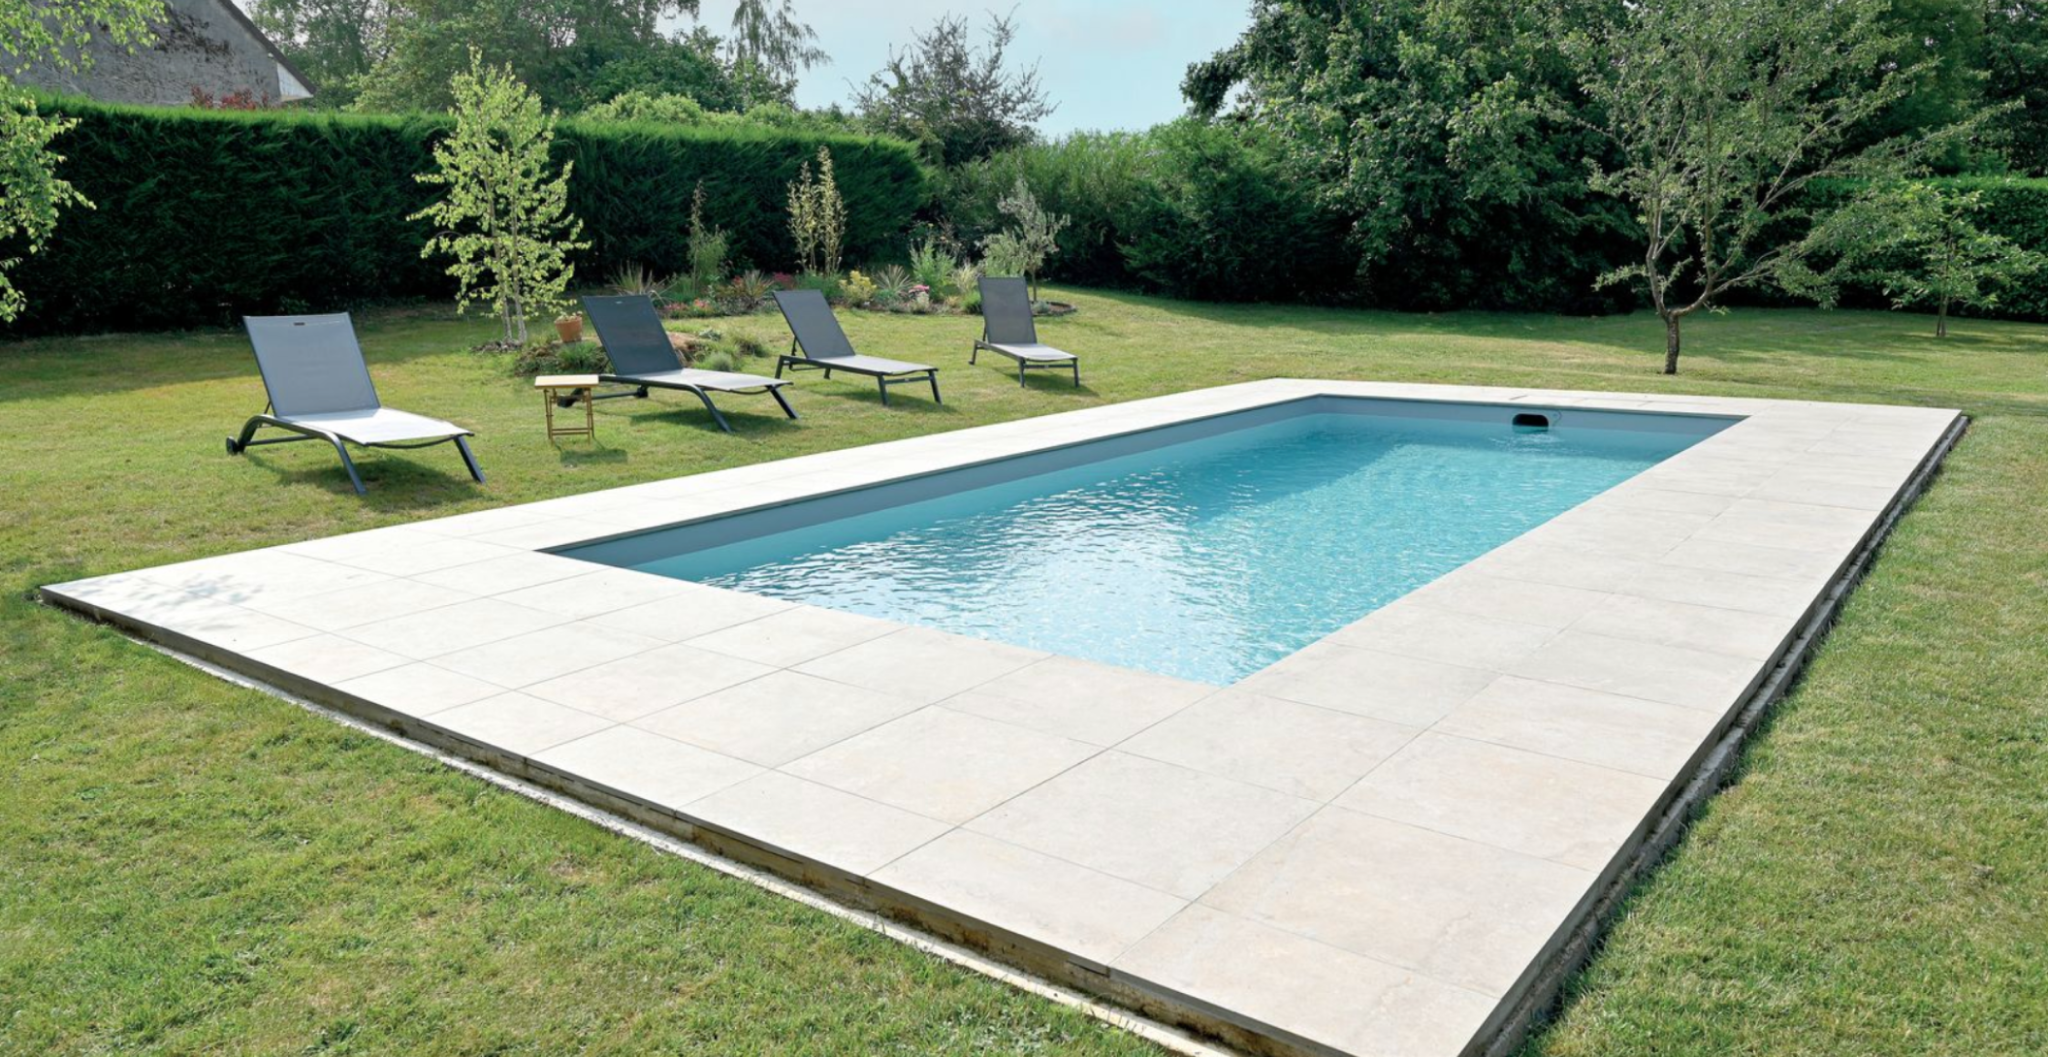
Rectangular in-ground pools
The rectangular pool is the simplest and most traditional in-ground pool. This type of pool will fit in perfectly in all outdoor spaces, in all kinds and shapes of gardens, for an unrivalled swimming experience.
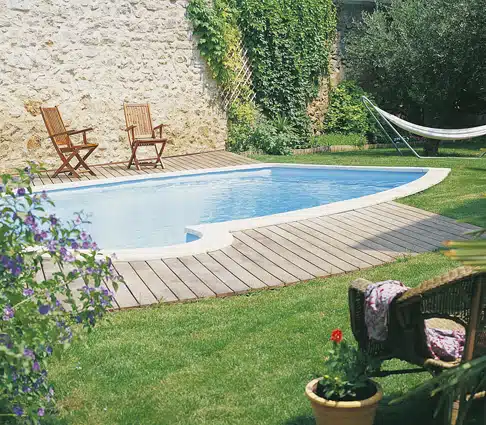
Oval in-ground pools
The oval pool is one of the simplest in-ground pool shapes. This oval pool will fit very easily into your outdoor space, for unforgettable swimming experiences in this pool with its clean lines.
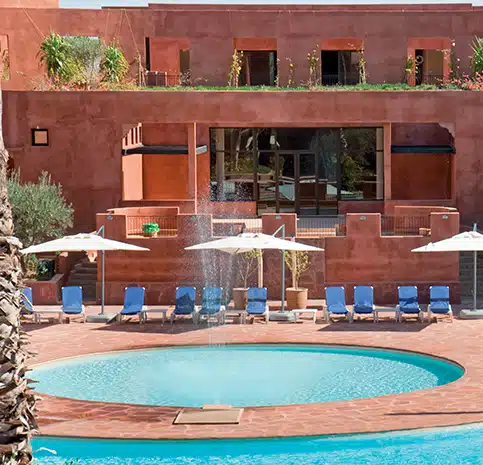
Round in-ground pools
The round pool is an in-ground pool that stands out in your garden with its simple shape. It is perfect for large outdoor spaces, allowing you to make the most of the space around the pool and to create unforgettable experiences.
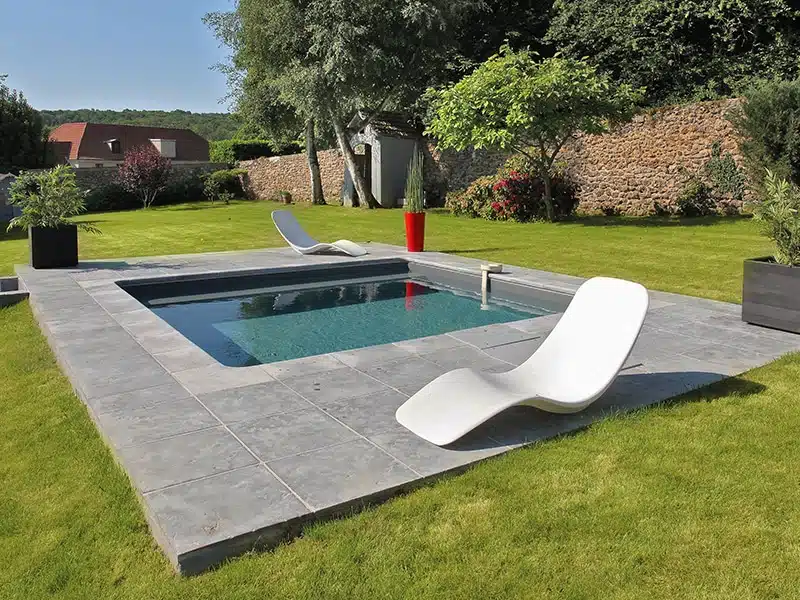
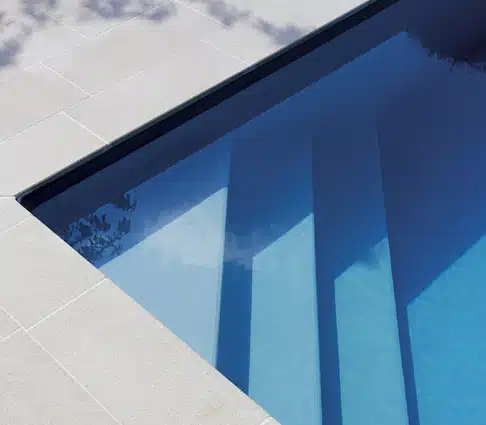
Square in-ground pools
The square pool is an in-ground pool that creates a friendly atmosphere, while having an incredibly attractive appearance. This square pool will fit in perfectly in your garden thanks to its very simple shape and compact style, allowing you to enjoy unforgettable swimming experiences.